Feijoa Fruit Leather

Each autumn we get a huge load of feijoas. To make them last longer than just a few days (they get devoured quickly in our house), we make feijoa fruit leather.
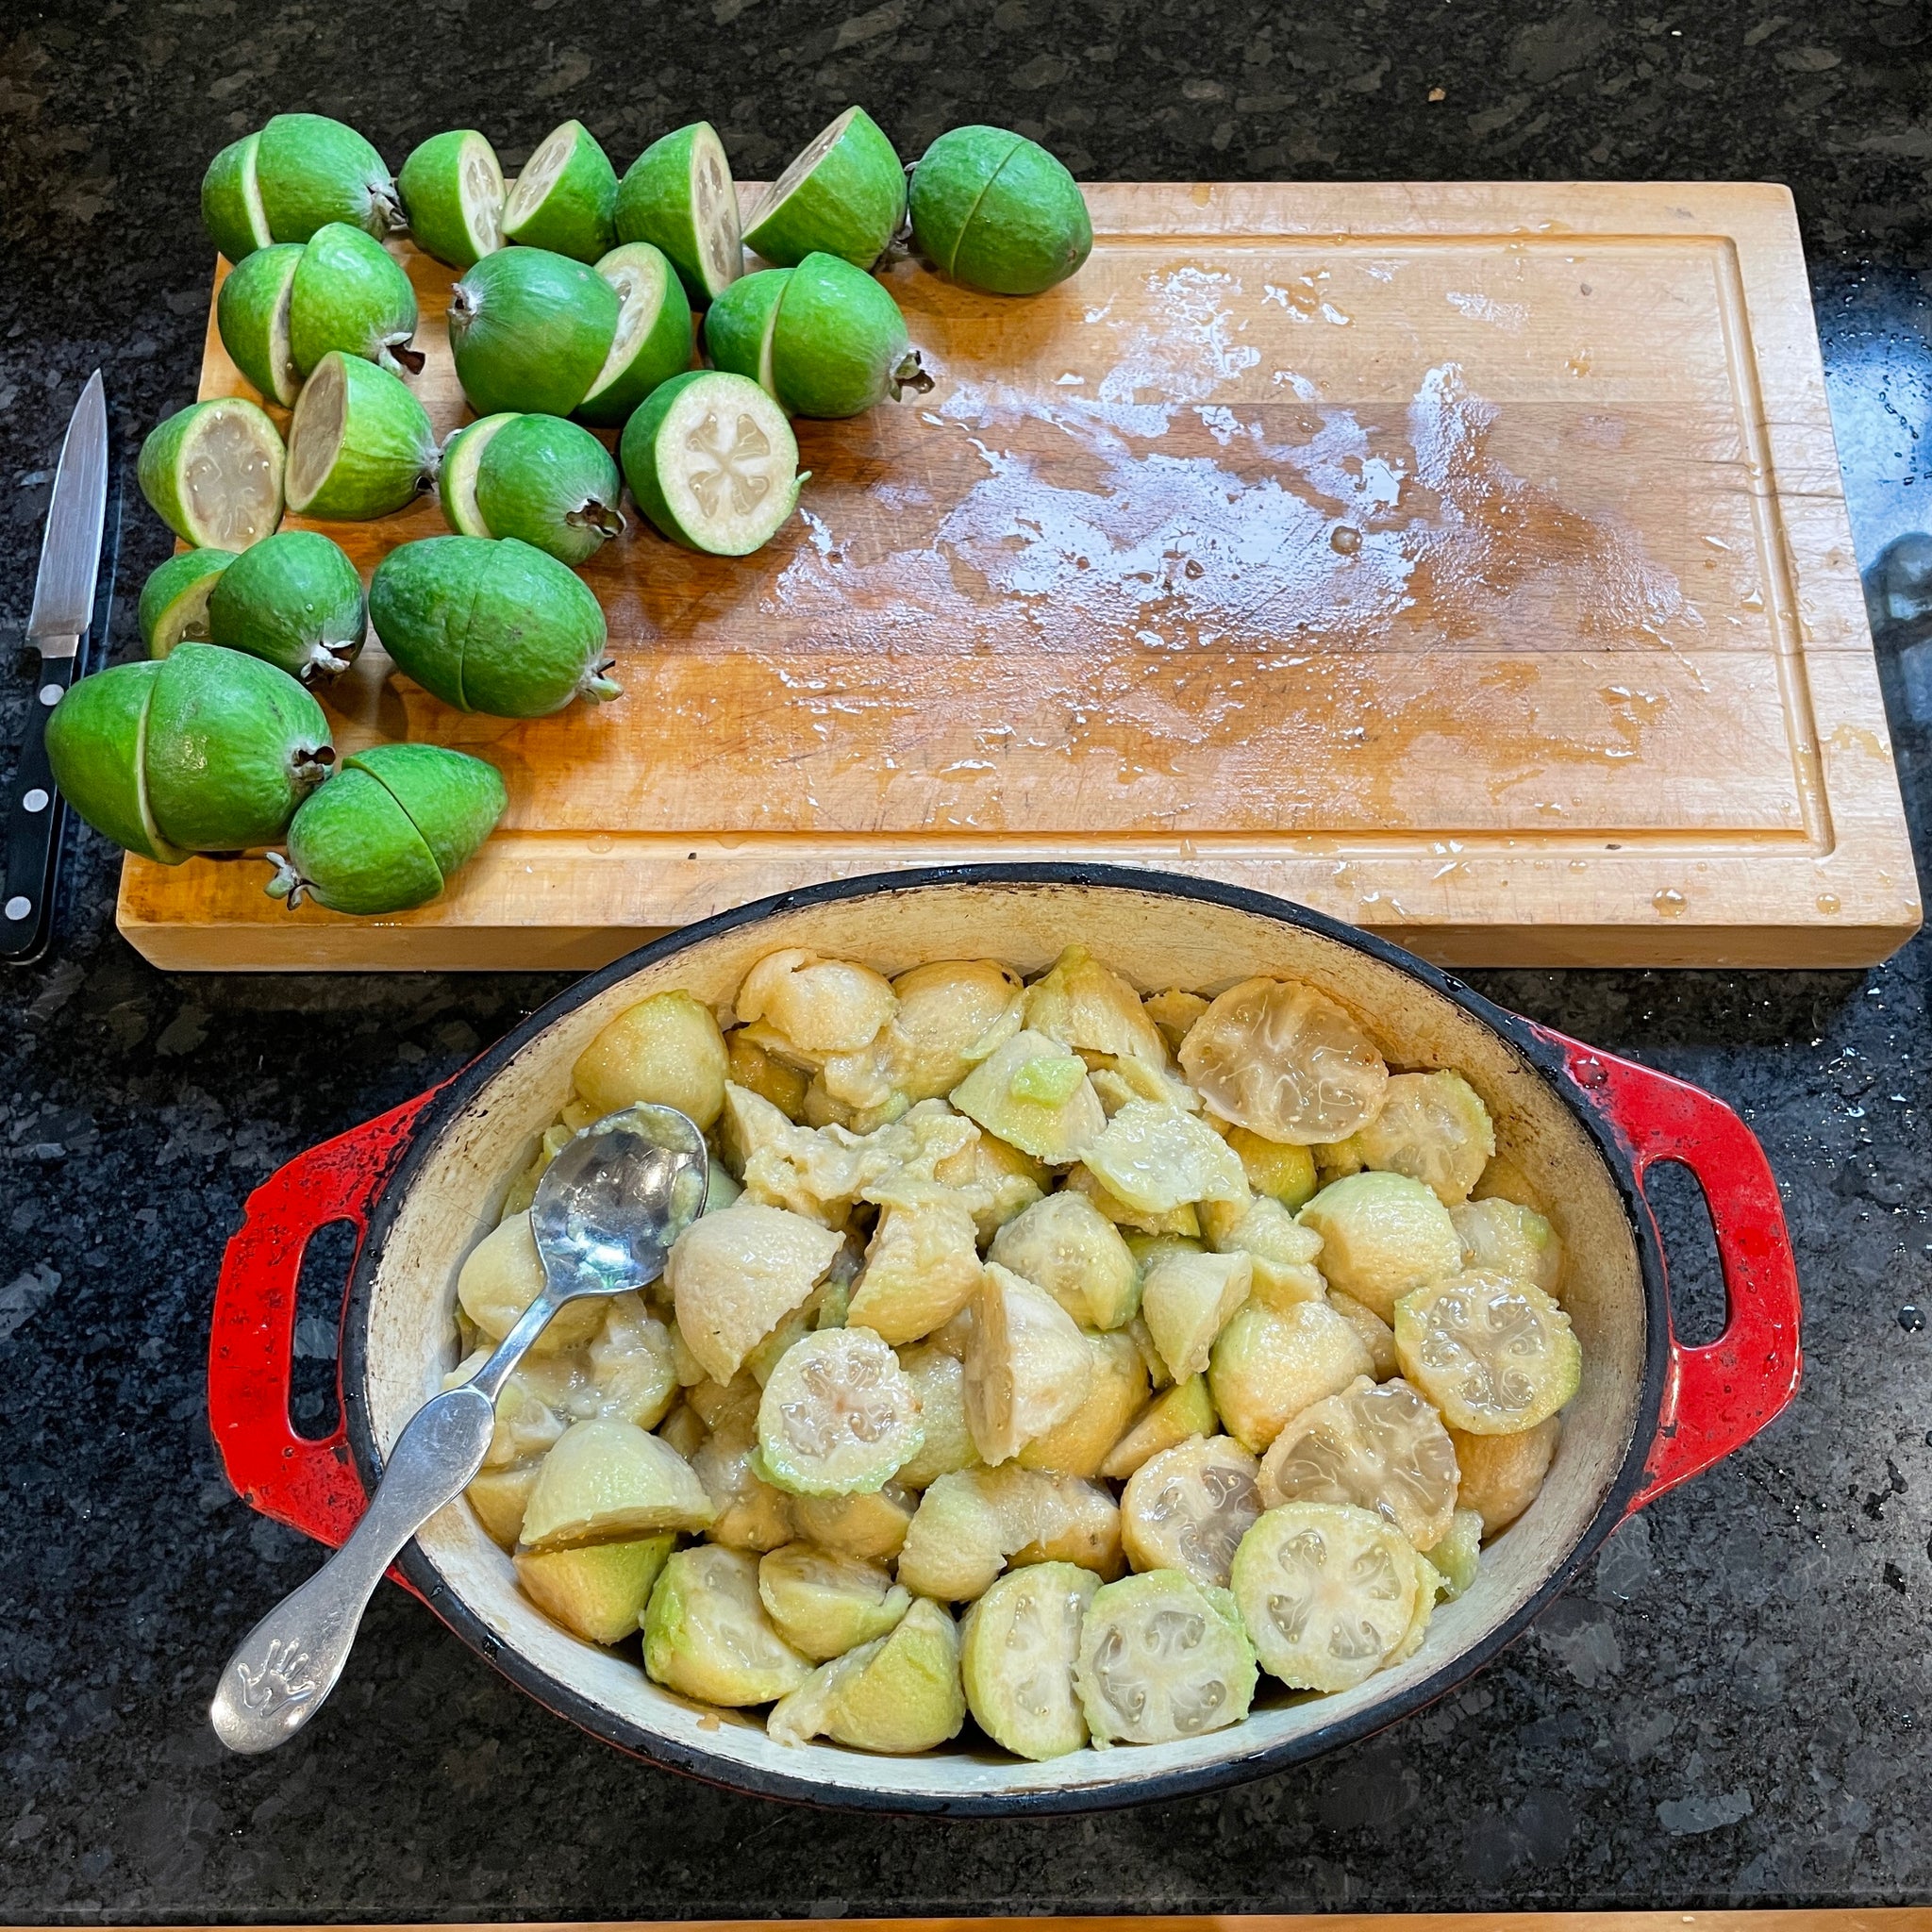
We chopped so, so, so many feijoas in half.Scooped the fruit out and into a heavy saucepan.

Took the fruit skins off to the compost! I'm pretty sure the worms look forward to feijoa season as much as we do, and we're richly rewarded with some beautiful soil in a few months time.

Gently simmering the fruit in pots with the lids off until it's thickened and and the fruit liquid is significantly reduced (by about 1/5 to 1/4 or more).

This took several hours. Stirred regularly to stop the fruit from burning to the base of the pot. The pulp needs to be really gluggy, as too much water will ruin the texture of the fruit leather.
Added honey for additional sweetness, because only some of us like very tart fruits. You can see how reduced the volume got by the end.

Optional extras include adding lemon juice or food grade ascorbic acid (vitamin c) to help preserve the leather for longer*.
*This is a good idea for storing fruit leather for ages - left on its own, without the extra vitamin c, the fruit leather may get mouldy or ferment badly otherwise.
Blended the cooked pulp till it's smooth and more creamy looking.

Prepared the dehydrator by lightly coating the fruit leather plastic sheets with a neutral vegetable oil.
Poured the fruit mixture onto each tray, spreading it around thickly and evenly. This was done in a few rounds, as we had a massive load of feijoas to get through.
I had hoped to take a photo of the finished fruit leather, but truth be told, I had to hide it fast in an effort to stop it being eaten, and then... well, we ate it all.
----
If you don't have a dehydrator, you can use your oven on low instead - set the oven to 60 - 80 c, fan bake.
Prepare trays (or big roasting dishes, or whatever you have that would work) by lining them with greased baking paper.
Pour the fruit mixture onto each tray, spreading it around thickly and evenly.
Place in the oven, with the door open, and leave to dry out for a few hours. You'll know the leather is done when it's no longer sticky to touch.
Once cooked, and leaving the baking paper attached, roll your fruit leather up into tubes while it's still soft and warm from the oven. You can slice it into smaller rolls now (great for lunch boxes), or leave them as full tubes to save.
Keep your fruit leather stored in airtight containers, in the fridge for a long time, or in the pantry for a short time.
If you mean to store away for much later, seal the leather in clean ziplock bags, with all the air removed.
Also in Blog

Hoopla Kids 10th Birthday
It's our 10th birthday! And we're both celebrating (scroll down for our giveaway) and taking a trip down memory lane.
At the centre of our journey has been you - our lovely customers, so thank you for coming along for the ride!


